Showing posts with label tips n tricks. Show all posts

Wednesday, April 18, 2012

How to Repurpose a Candle Jar for Makeup Storage

Due to my love of Bath and Body Works Slatkin & Co. Candles I have ended up with a lot of used candle jars, which I have repurposed and used for cosmetic storage. Here are a couple candles I used up during the winter holiday season and the process I use for removing the wax. 


1. Put the glass jar with the wax in the freezer for at least 1.5 hours. When you are ready to begin the wax removal process remove the jar from the freezer.


2. Take a butter knife and gently insert it into the wax. The wax will start cracking. 
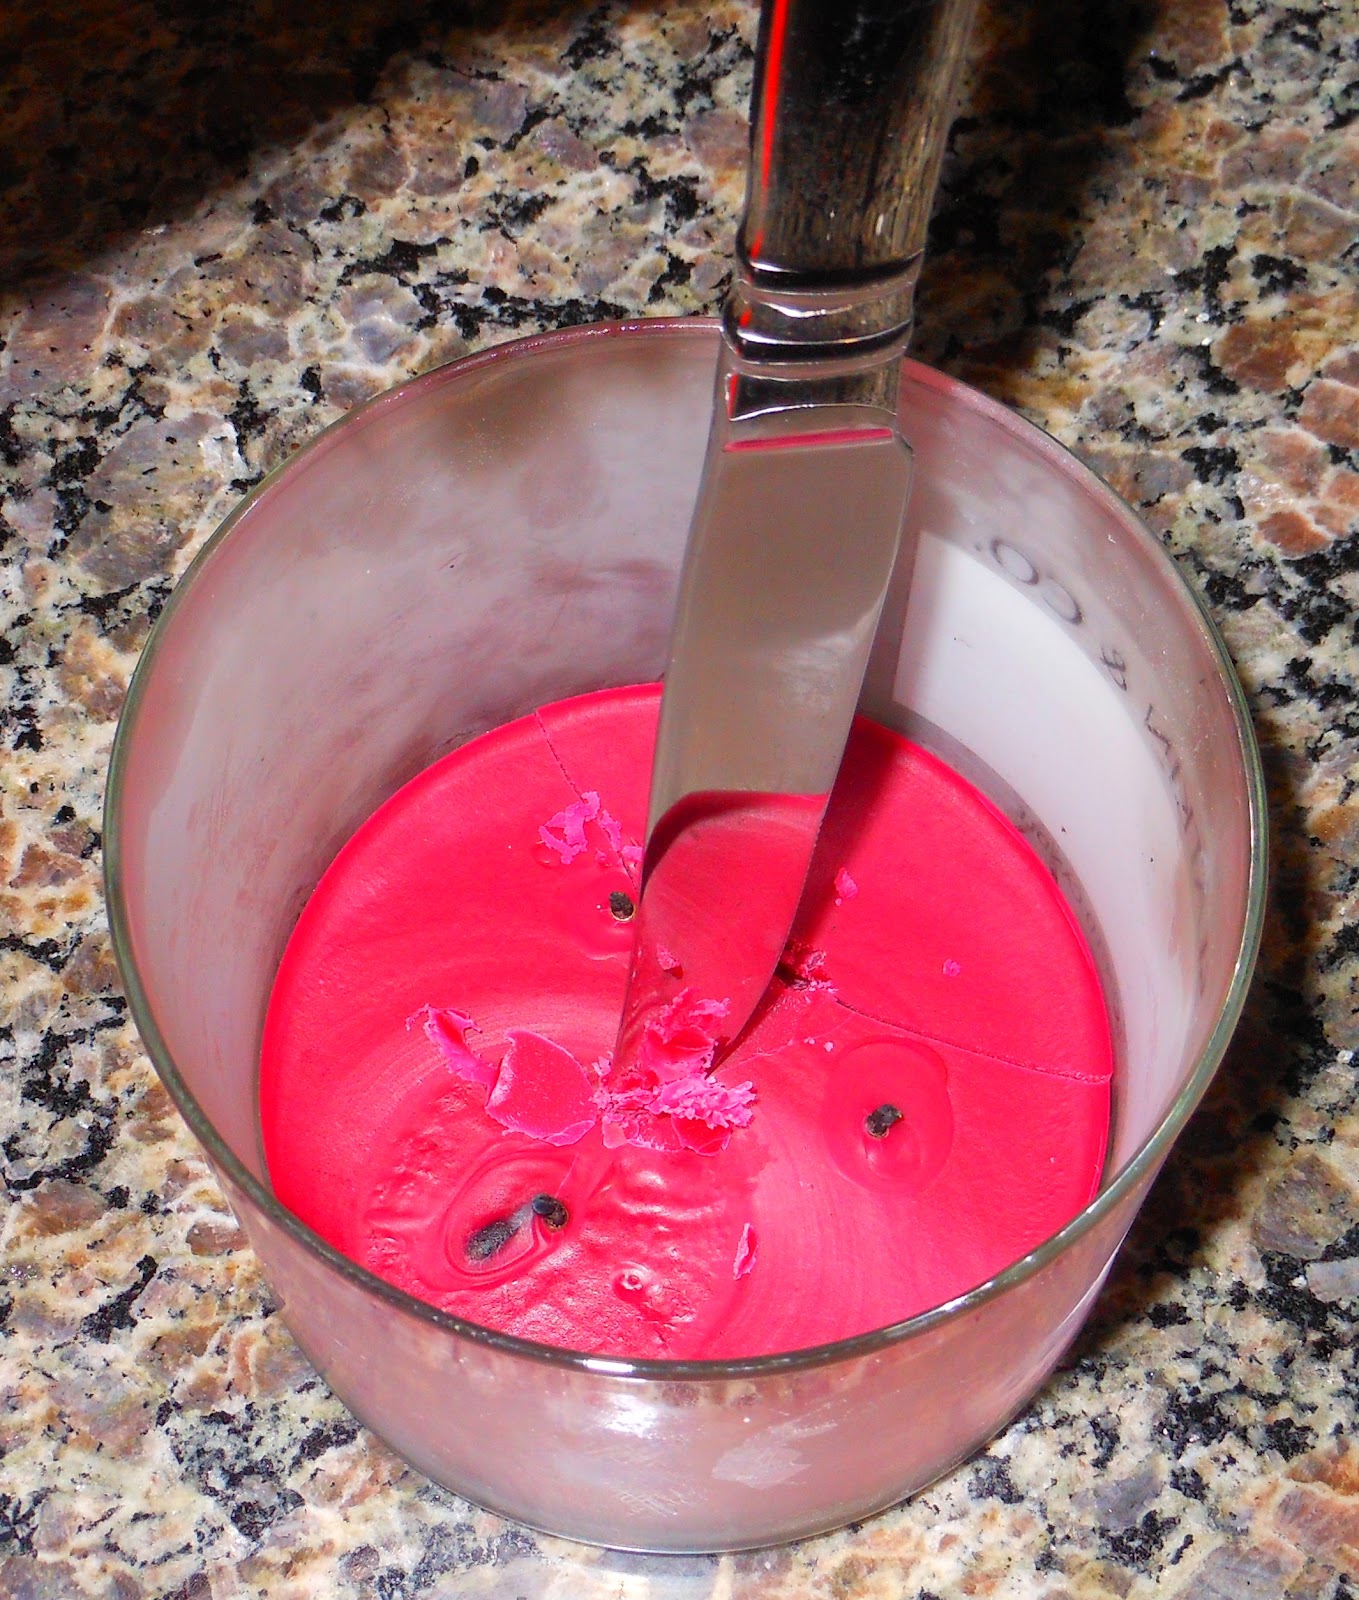

3. Once the wax starts cracking, remove each piece.


4. Keep cracking the wax until all the wax is in pieces and can be removed from the jar. 


5. If the wicks are glued to the jar of the candle, slowly use the same butter knife to lift each wick and separate the glue.  


6. Remove each wick and as much of the glue and wax residue as you can.


7. Fill a small pot with about 1-2 inches of water and heat it up until the water is about to boil. Turn off the heat and put the glass jar in the water. 


8. The heat from the water will melt the wax/glue residue and you should be able to wipe it off with a paper towel or cloth. Remove as much as you can.


9. The heat from the water will also loosen the glue from any labels on the jar, so this is a good time to remove all labels. 


10. Wash the jar with dish soap and/or put it in the dishwasher. Once the jar is clean, if there are any small amounts of glue remaining, try soaking the jar in soap and water, or use a product like Goof Off to easily remove the glue. Once the jar is completely clean, you are ready to use it for storage!


These jars are the perfect height for Q-tips, so I put a piece of cardboard in mine to act as a divider and I used half for Q-tips and half for cotton balls. You can use these for storing soaps, lipsticks, liners, makeup brushes or whatever your heart desires. Happy organizing!

Thursday, January 19, 2012

How to Prevent Eyeshadow Fallout

Ladies, you know how frustrating eyeshadow fallout can be. You finish your eye makeup only to look down at your cheeks to find traces of eyeshadow just sitting there glaring at you. And most often than not, this happens to me on days when I do my foundation first then my eye makeup, AND I am running late for an event.

Hopefully, these next few tips will help prevent that nasty fallout in the future:

1. Do your eye makeup first, then do your face makeup. That way, if you have to clean up any fallout, you can do so on clean skin and won't have to rub off and reapply foundation, concealer, poweder, etc.

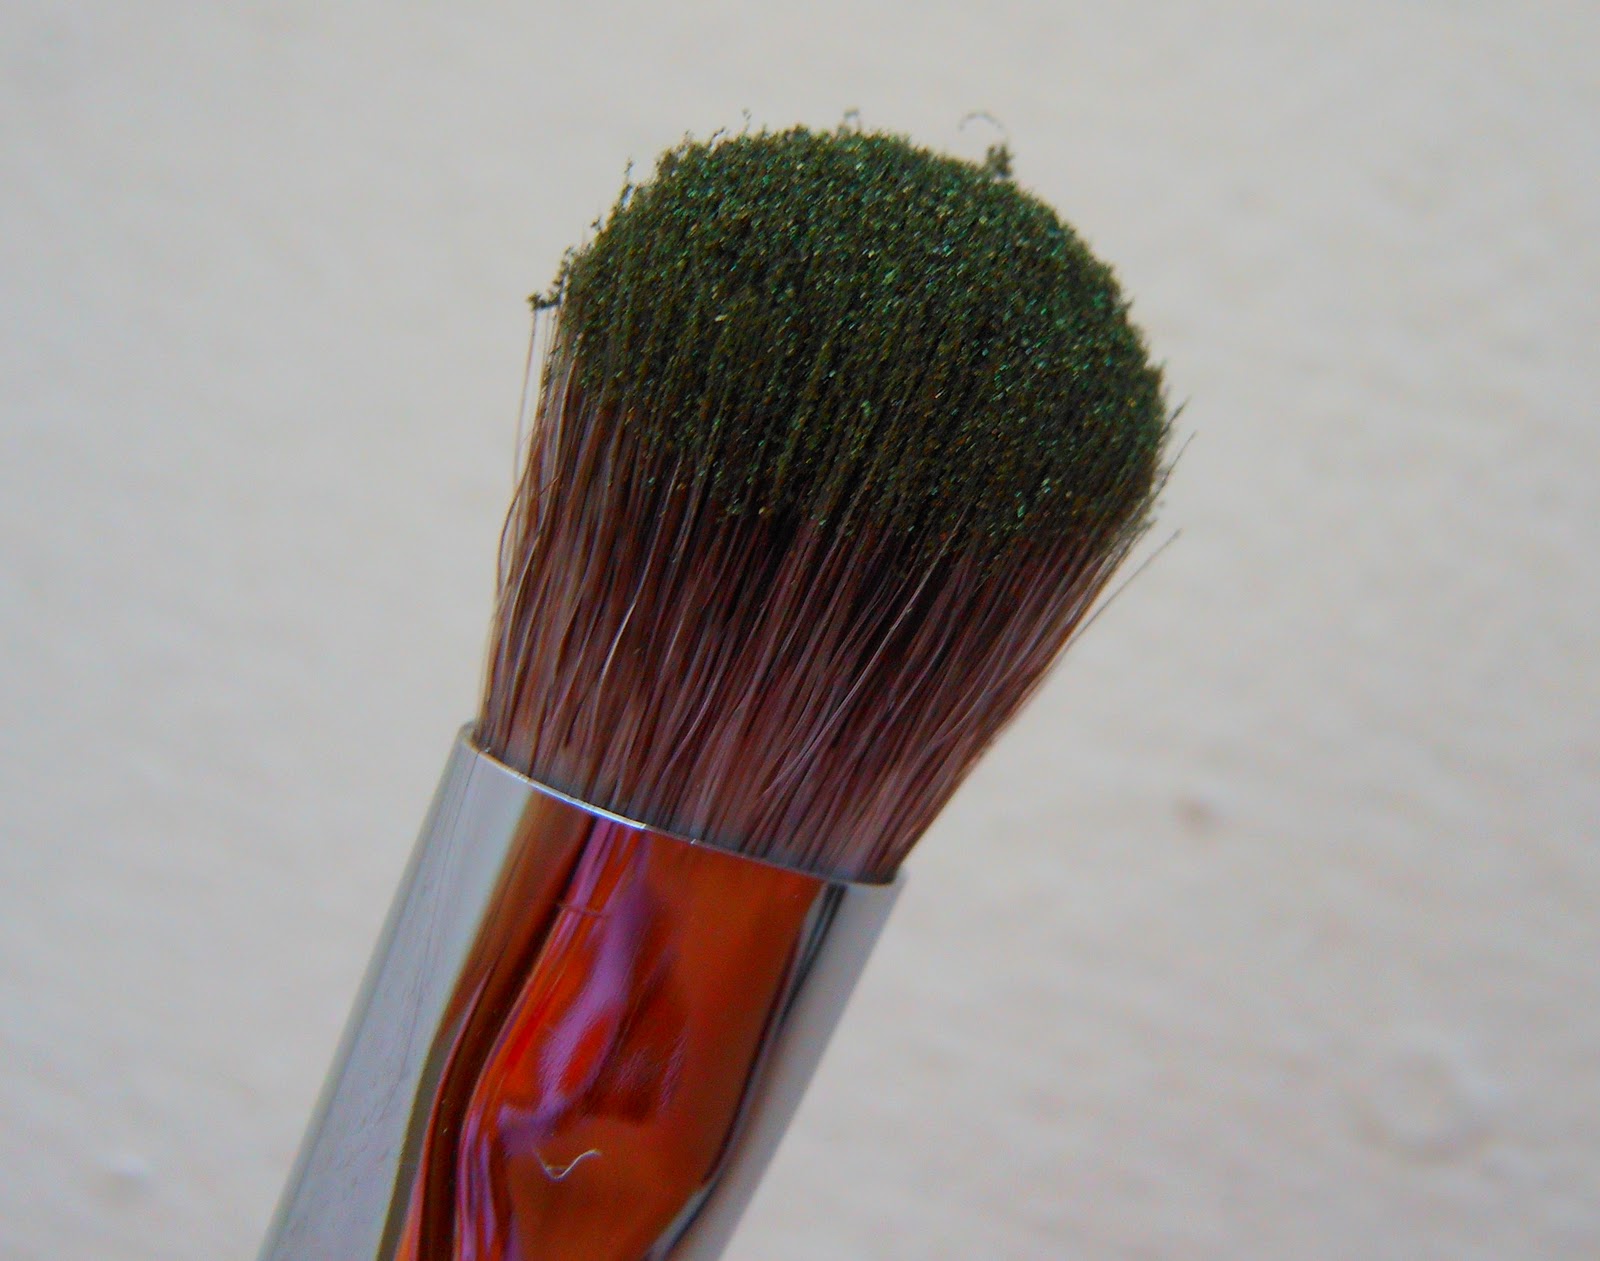
2. When using brushes to apply eye makeup, swirl your brush in the shadow, then tap the handle against your hand to let the loose, excess product fall off the brush on your hand instead of on your face. I do this with almost all powder products (blush, powder, etc.) so that excess product does clump in one are of the skin or fall all over the place.

Brush right after swiping in shadow

Tapping brush on back of hand

Brush after tapping - all excess shadow has fallen off

3. Try using your finger to apply eyeshadow. When picking up product with your finger, excess product will not adhere to your finger, so you don't have to worry about that product falling out on your face. Of course, ALWAYS use your ring finger, as it is the most delicate on your skin, and ALWAYS wash your hands before and after.

Finger swiped in shadow

4. Try using a shadow shield. I picked these up at Sephora a few months ago, but I think similar products are available at other retailers as well. They work pretty well, but are somewhat annoying because there is an adhesive part on one side of the shadow shield and it is annoying to peel off. Plus, this can get pretty expensive if you use them everyday, but might be worth it when doing bright eye makeup or super heavy shadowing.


Wednesday, December 14, 2011

How to Press Loose Pigments

Hello!!! Yes, it has been way too long since I have posted. Life has been crazy between work, holiday parties, holiday planning, family events, and trying to spend quality time with the hubby.

Ok, I admit, I also spent quite a few nights watching sappy Christmas movies on the Hallmark Channel and Lifetime. What can I say? I love them! I love the holidays and I love romantic comedy movies, so it's the best of both worlds!

Anyhow, I recently did an experiment in pressing a loose pigment in to an empty shadow pan. I had heard about this being done and I wanted to try it for myself. I used regular rubbing alcohol (Isopropyl Alcohol 70%), the pigment, an empty shadow pan (this was an old MAC shadow I finished so I cleaned out the pan), a spatula (a toothpick is a good substitute), and a paper towel on the surface.


Step 1: Pour a little bit of the pigment in to the shadow pan.

Step 2: Pour a small amount of the alcohol into the cap of the alcohol bottle, and then pour from the cap in to the shadow pan. Mix the pigment powder and the alcohol with the spatula.


Step 3: I accidentally poured too much alcohol in the pan so I ended up taking a small piece of paper towel and dipped the corner in to the pan to absorb some of the alcohol.

Friday, August 27, 2010

Another Quickie Eyeliner Tip

I already had this post planned for today, but one of my wonderful readers already gave the tip away in her comment to my previous post. But here it is anyways...

When lining your eyes, dot or dash the liner along your lashline to create the shape and thickness of the line. Then connect the dots/dashes to create an even, smooth line.

When using a gel or cream eyeliner, you can lightly pat or dash the brush along the lashline and then connect the dots. When using a pencil, you can create dots or dashes and then connect them. This technique allows you to ensure a smooth line that doesn't get too thick or thin on one eye, because you create the shape and thickness first, then draw the line.

Oh!! For those of you on Facebook, I created a Kajal Couture Facebook page and would love to have you follow me there and stay up to date on my latest makeup encounters! Just click here and at the top of the page, click on the "like" button next to my name Kajal Couture. Thanks for your support!

Wednesday, August 25, 2010

Eyeliner Week Continues - New Way to Use Pencil Eyeliner

Lately, I have been using a new technique to apply pencil eyeliner:

I take a small, angled brush that I would normally use for a cream or gel liner, 


 I swipe the bristles against the pencil to pick up the color,


Tuesday, August 24, 2010

Eyeliner Quickie Tip #1 - Practice Makes Perfect

We've all heard our parents, teachers, mentors....anyone who tried teaching us when we were younger....and the one thing they always said was "practice makes perfect." 

This same philosophy holds true for makeup application! 

A friend of mine long ago shared a great tip with me and I hope you all find it useful as well:

Practice eyeliner at night, right before washing your face.

Whether you are new to eyeliner, trying to get the hang of gel or cream liners, wanting to get the extended eyeliner flick just right, or just experimenting with a new look, I think this is a great tip! If you mess up, you are going to wash it all of anyways. Once you starting getting it right, then you are ready to do the look and your practice has lead to perfection!

LinkWithin

Related Posts with Thumbnails